An ATM's Grinding Barrel Top
Make A Solid, Easy To Clean Work Surface For Grinding
John D. UptonNovember 15, 1998
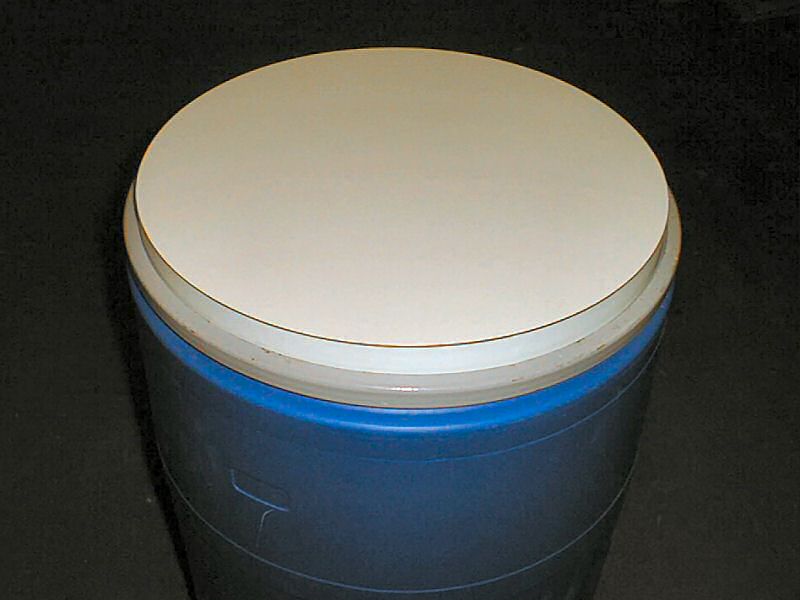
While not required for optical work, a grinding barrel that gives easy access all around is a nice convenience. This article describes the construction of a top for the grinding barrel that is attractive, durable, and easy to clean.
I am something of a traditionalist when it comes to making mirrors. I like the convenience of having a grinding barrel to work on. My previous barrel had served me well, but it finally rusted through after almost 20 years of occasional use. I had followed the advice often given in ATM books and worked with the barrel partially filled with water. Since I was about to begin work on the primary mirror for my next telescope, I decided to replace my old grinding barrel with a new one.

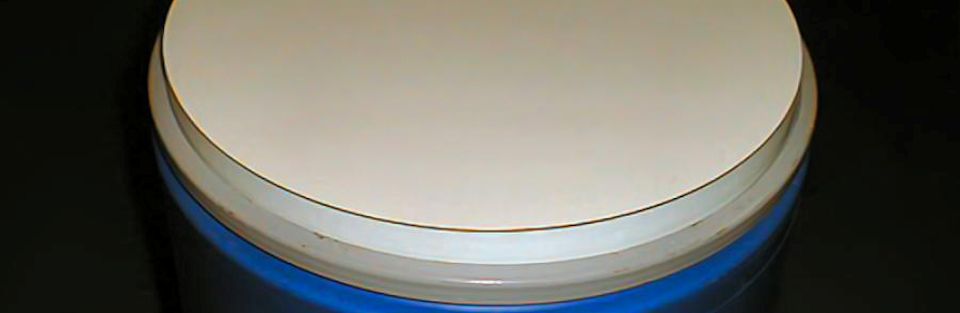
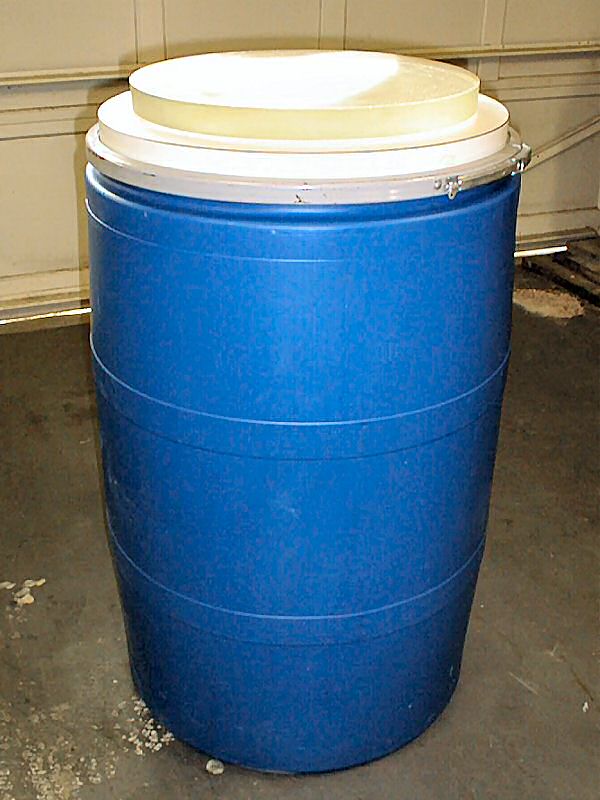
After a bit of searching around, I was able to find a plastic food-grade barrel with a removable lid at a scrap dealer. The diameter of the lid was 23". There was a recess in the lid 22" in diameter which would accept the particle board top I planned to use. The barrel cost me $25 and should never need replacement since this one will not rust out. I decided against filling it with water, though, because I've also occasionally experienced "sloshing" of the water during working. Instead, I decided to use sand bags and water filled soft drink containers for ballast. This made the barrel fairly stable.
The construction of the top was fairly straightforward. I used two thicknesses of 3/4" particle board. These were to be cut out with a router so they would be quite round and then would be glued together. Between the two, I put four carriage bolts that would be used to bolt the top to the barrel's removable lid.
After the two circles had been cut, I carefully measured and drilled the holes for the carriage bolts. The holes were drilled through the bottom board only. In the top board, I bored a hole about 1/8" deep and wide enough to provide clearance for the bolt heads to ensure complete contact between the boards when gluing. The two halves of the assembly were then glued together using wood glue (with the bolts sandwiched in place.) After the glue had set up for a few days, I sealed the assembly with polyurathane varnish. The top of the assembly received four coats while the bottom and sides were given six. Special care was given to seal the area where the bolts protrude from the bottom of the assembly.
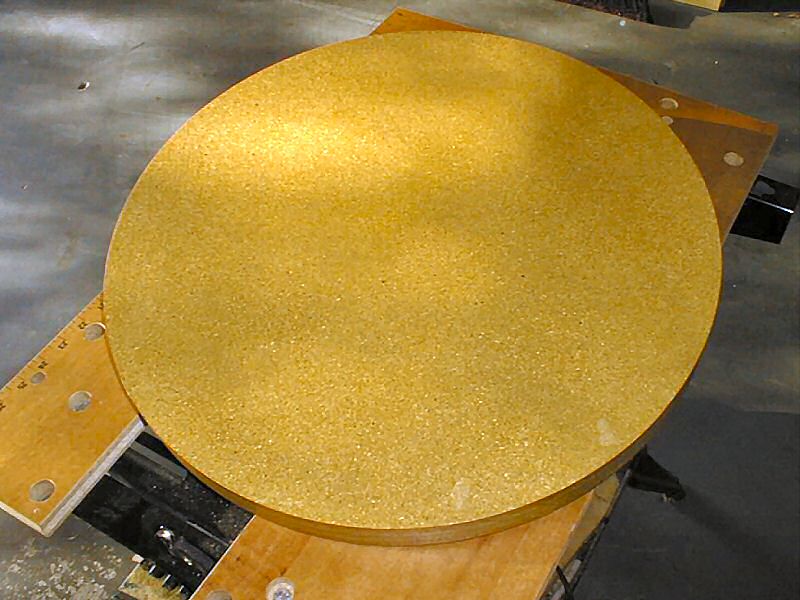
After everything had completely dried (allowing a week after the final coat of varnish), I glued the "Formica" top and side banding using the contact cement recommended for the product. The top formica of the assembly was applied first allowing it to overlap on all sides by about 1/4". In order to completely seal the seam around the top edge of the formica, I ran a bead of epoxy glue in the corner formed between the underside of the top formica piece and the wood edge of the assembly. The side banding was then applied (again with contact cement). I was attempting to ensure a waterproof seal so that the particle board structure would never get wet.
Following the curing of the epoxy glue, I then edged the formica with a trim bit in the router. A small amount of touch up of the bevel with some fine sandpaper and the job was complete. For further protection and to allow for easy cleaning, I applied a coat of paste automobile wax to the finished top.
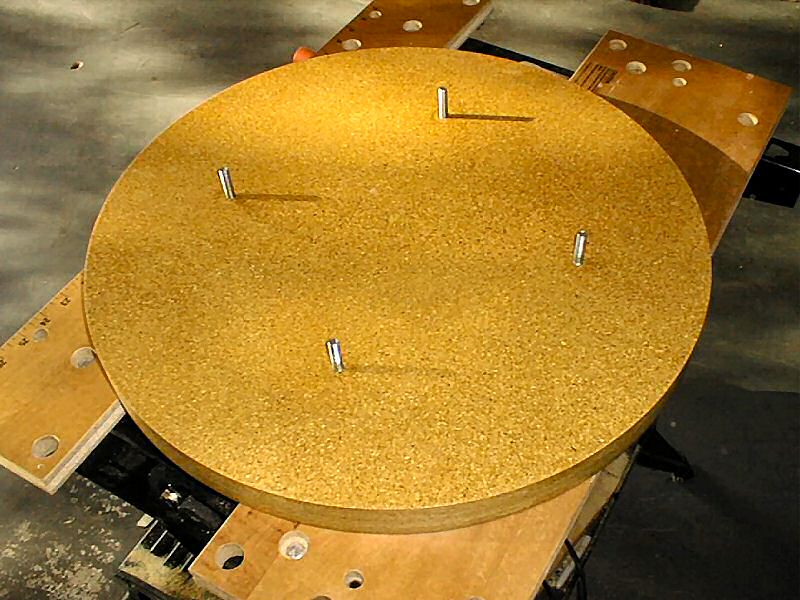
In use, I do not normally use cleats to secure the mirror. I decided not to drill any holes in the surface of the barrel top. Any water which might seep into the particle board would quickly warp it and cause deterioration. For the large mirror I was working, a layer of non-slip rubber shelf liner was more than adequate to hold the mirror during grinding with a sub-diameter tool. The additional forces used in polishing did require added mirror retention. I used "hot glue" to attach three small cleats to help hold the mirror in place. Blocking pitch would also work well for this. To remove the cleats, a sharp rap with a hammer or board will dislodge them. The surface may then be cleaned and readied for its next use.
Since I did not allow for the washing of used grits into the barrel, I simply place a ring of paper towels around the mirror at the start of a grinding session. When the towels become saturated with water and spent grit, I just use them to wipe down the exposed portions of the top and add new ones. I also mop the mirror up with a sponge rather than washing it down in place. Once I had done this a few times, it became as quick and easy as washing everything into an empty barrel -- my old practice. At least now, I don't have to worry about cleaning out the stagnate water, grit, and mud from the bottom of the barrel. Nor do I worry about ever having this barrel rust out on me.